
SRIOV - High Performance Networking in Kubernetes
SR-IOV supported in EdgeCDN-X to enable high performance networking

Single Root IO Virtualization (SRIOV) allows one physical Network Interface Card (NIC) to present multiple virtual network interfaces which can be directly assigned to a container or a VM. Such Interfaces bypass the CNI, reduce latency and improve throughput. They are designed for network intensive workloads which are necessary for the EdgeCDN-X Platform.
The video at the end of this post shows a step by step guide how to attach SR-IOV enabled NICs to Kubernetes containers.
NICs
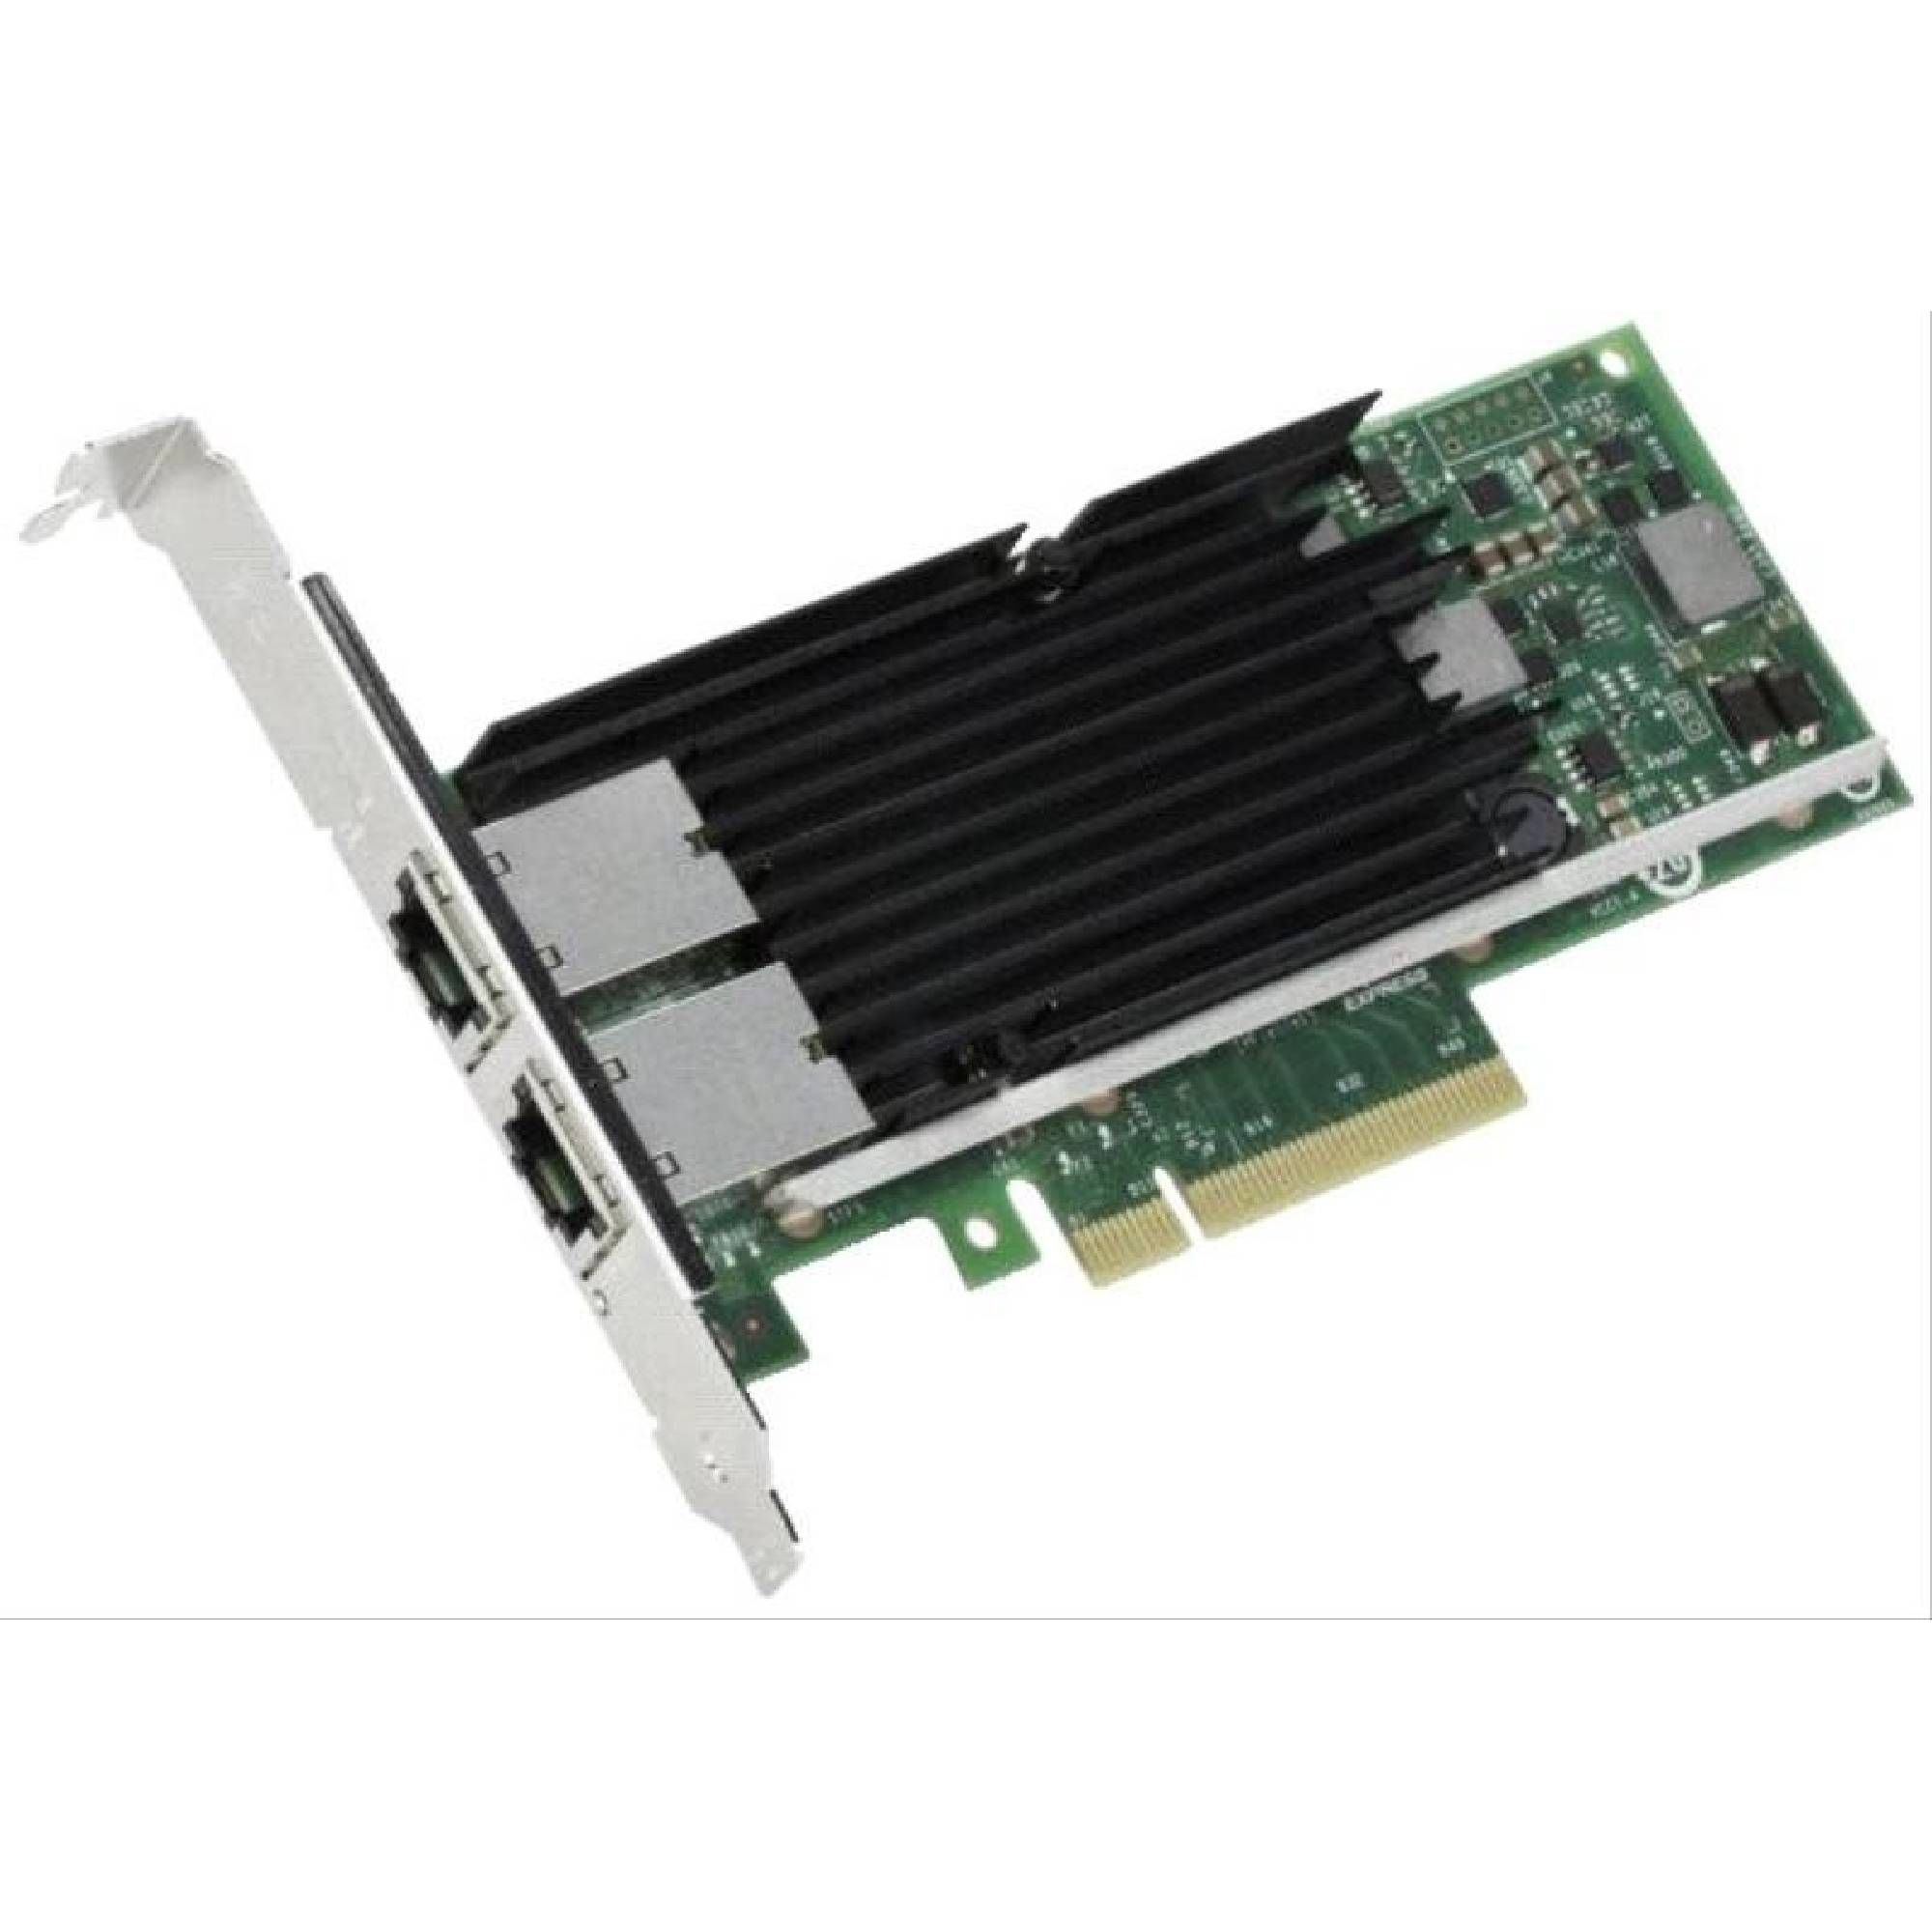
Server grade NICs are often SR-IOV enabled. For my testbed I've picked up a pair of Intel x540-T2 Cards, which have 2x 10Gigabit ethernet ports.
System Configuration
Make sure your drivers are installed. For these cards ixgbe driver needs to be present on your system.
[root@control ~]# lsmod | grep xgbe
ixgbe                 491520  0
mdio                   16384  1 ixgbe
dca                    16384  1 ixgbe
[root@control ~]
[root@control ~]
[root@control ~]# lspci | grep -i ethernet
00:1f.6 Ethernet controller: Intel Corporation Ethernet Connection (7) I219-LM (rev 10)
03:00.0 Ethernet controller: Intel Corporation Ethernet Controller 10-Gigabit X540-AT2 (rev 01)
03:00.1 Ethernet controller: Intel Corporation Ethernet Controller 10-Gigabit X540-AT2 (rev 01)
In the next step you have to enable Virtual Functions on the NICs. Once enabled, the Virtual Functions will be created on your system.
[root@control ~]# echo 8 | sudo tee /sys/class/net/ens4f0/device/sriov_numvfs
8
[root@control ~]# lspci | grep -i ethernet
00:1f.6 Ethernet controller: Intel Corporation Ethernet Connection (7) I219-LM (rev 10)
03:00.0 Ethernet controller: Intel Corporation Ethernet Controller 10-Gigabit X540-AT2 (rev 01)
03:00.1 Ethernet controller: Intel Corporation Ethernet Controller 10-Gigabit X540-AT2 (rev 01)
03:10.0 Ethernet controller: Intel Corporation X540 Ethernet Controller Virtual Function (rev 01)
03:10.2 Ethernet controller: Intel Corporation X540 Ethernet Controller Virtual Function (rev 01)
03:10.4 Ethernet controller: Intel Corporation X540 Ethernet Controller Virtual Function (rev 01)
03:10.6 Ethernet controller: Intel Corporation X540 Ethernet Controller Virtual Function (rev 01)
03:11.0 Ethernet controller: Intel Corporation X540 Ethernet Controller Virtual Function (rev 01)
03:11.2 Ethernet controller: Intel Corporation X540 Ethernet Controller Virtual Function (rev 01)
03:11.4 Ethernet controller: Intel Corporation X540 Ethernet Controller Virtual Function (rev 01)
03:11.6 Ethernet controller: Intel Corporation X540 Ethernet Controller Virtual Function (rev 01)
Kubernetes Configuration
Installing SR-IOV Device Plugin
Once you have VFs in place, you have to install the SR-IOV network device plugin. The device plugin is responsible for registering the VFs and NICs to the Kubelet so they appear as available resources for Pod scheduling.
kubectl apply -f https://raw.githubusercontent.com/k8snetworkplumbingwg/sriov-network-device-plugin/refs/heads/master/deployments/sriovdp-daemonset.yaml
The device plugin alone won't automatically register the available VFs. It needs a precise configuration attached via a ConfigMap. This ConfigMap describes which Virtual Functions should be registered with kubelet. In our case the configmap looks like this:
apiVersion: v1
kind: ConfigMap
metadata:
  name: sriovdp-config
  namespace: kube-system
data:
  config.json: |
    {
        "resourceList": [{
                "resourceName": "intel_sriov_netdevice",
                "selectors": {
                    "vendors": ["8086"],
                    "devices": ["1515"],
                    "drivers": ["ixgbevf"]
                }
            }
        ]
    }
Vendors, devices and drivers are specific to this NIC. To get the correct values use ethtool and lspci (details in the video).
Once the correct values are in place, the device plugin picks up those NICs and registers them as an avilable resource for the Kubernetes Node.
status:
  allocatable:
    cpu: 11400m
    ephemeral-storage: "581897603336"
    hugepages-1Gi: "0"
    hugepages-2Mi: "0"
    intel.com/intel_sriov_netdevice: "8"
    memory: 31555172Ki
    pods: "110"
  capacity:
    cpu: "12"
    ephemeral-storage: 617712Mi
    hugepages-1Gi: "0"
    hugepages-2Mi: "0"
    intel.com/intel_sriov_netdevice: "8"
    memory: 32444004Ki
    pods: "110"
As we can see on the output, there are now 8 intel.com/intel_sriov_netdevice resources available.
Multus installation
SR-IOV devices can be attached to the workloads using Multus. Refer to the Github Documentation for Multus installation or check out the video below for details.
As a quick reference run:
kubectl apply -f https://raw.githubusercontent.com/k8snetworkplumbingwg/multus-cni/master/deployments/multus-daemonset-thick.yml
This should be enough to install multus in your cluster.
SR-IOV CNI
In Kubernetes Networking multiple CNI plugins can be chained together. SR-IOV CNI needs to be installed so Multus can pick these NICs up. The SR-IOV CNI can be installed based on the manifests available at GitHub.
To install the SR-IOV CNI run the following command:
kubectl apply -f https://raw.githubusercontent.com/k8snetworkplumbingwg/sriov-cni/refs/heads/master/images/sriov-cni-daemonset.yaml
Attaching VFs to Workloads
With these steps all the necessary components are now installed. To attach a VF to a workload, first we have to define a NetworkAttachmentDefinition. This definition describes how Multus should configure an additional NIC for a workload.
apiVersion: k8s.cni.cncf.io/v1
kind: NetworkAttachmentDefinition
metadata:
  annotations:
    k8s.v1.cni.cncf.io/resourceName: intel.com/intel_sriov_netdevice
  name: sriov-x540
  namespace: edgecdnx-cache
spec:
  config: |
    {
      "type": "sriov",
      "cniVersion": "0.3.1",
      "name": "sriov-network",
      "ipam": {
        "type": "host-local",
        "subnet": "192.168.200.0/24",
        "rangeStart": "192.168.200.2",
        "rangeEnd": "192.168.200.99"
      }
    }
In this example, Multus will attach a intel.com/intel_sriov_netdevice and will allocate an IP address from the 192.168.200.2-192.168.200.99 range by triggering the SRIOV CNI.
Once the definition is in place, we can create a Pod referencing this attachment definition such as:
apiVersion: v1
kind: Pod
metadata:
  annotations:
    k8s.v1.cni.cncf.io/networks: sriov-x540
  name: edgecdnx-cache-ssd-ingress-nginx-controller
  namespace: edgecdnx-cache

  containers:
  - args: []
    #... omitted output
    resources:
      limits:
        cpu: "4"
        intel.com/intel_sriov_netdevice: "1"
        memory: 1Gi
      requests:
        cpu: "4"
        intel.com/intel_sriov_netdevice: "1"
        memory: 1Gi
Based on this annotation, Multus will be triggered and a new NIC will be attached based on the Network definition defined in the Annotation. To make sure, that the Pod lands on a suitable Node, where such NICs are present, in the resources we have to set our desired requests and limits for a intel.com/intel_sriov_netdevice resource.
This will ensure that the scheduler picks a node, where an x540 Intel NIC is present and multus will trigger the SRIOV CNI plugin and attach an IP address to it.